Monday, 6 August 2018
How I Edit My Instagram Photos - My New Favourite Editing App
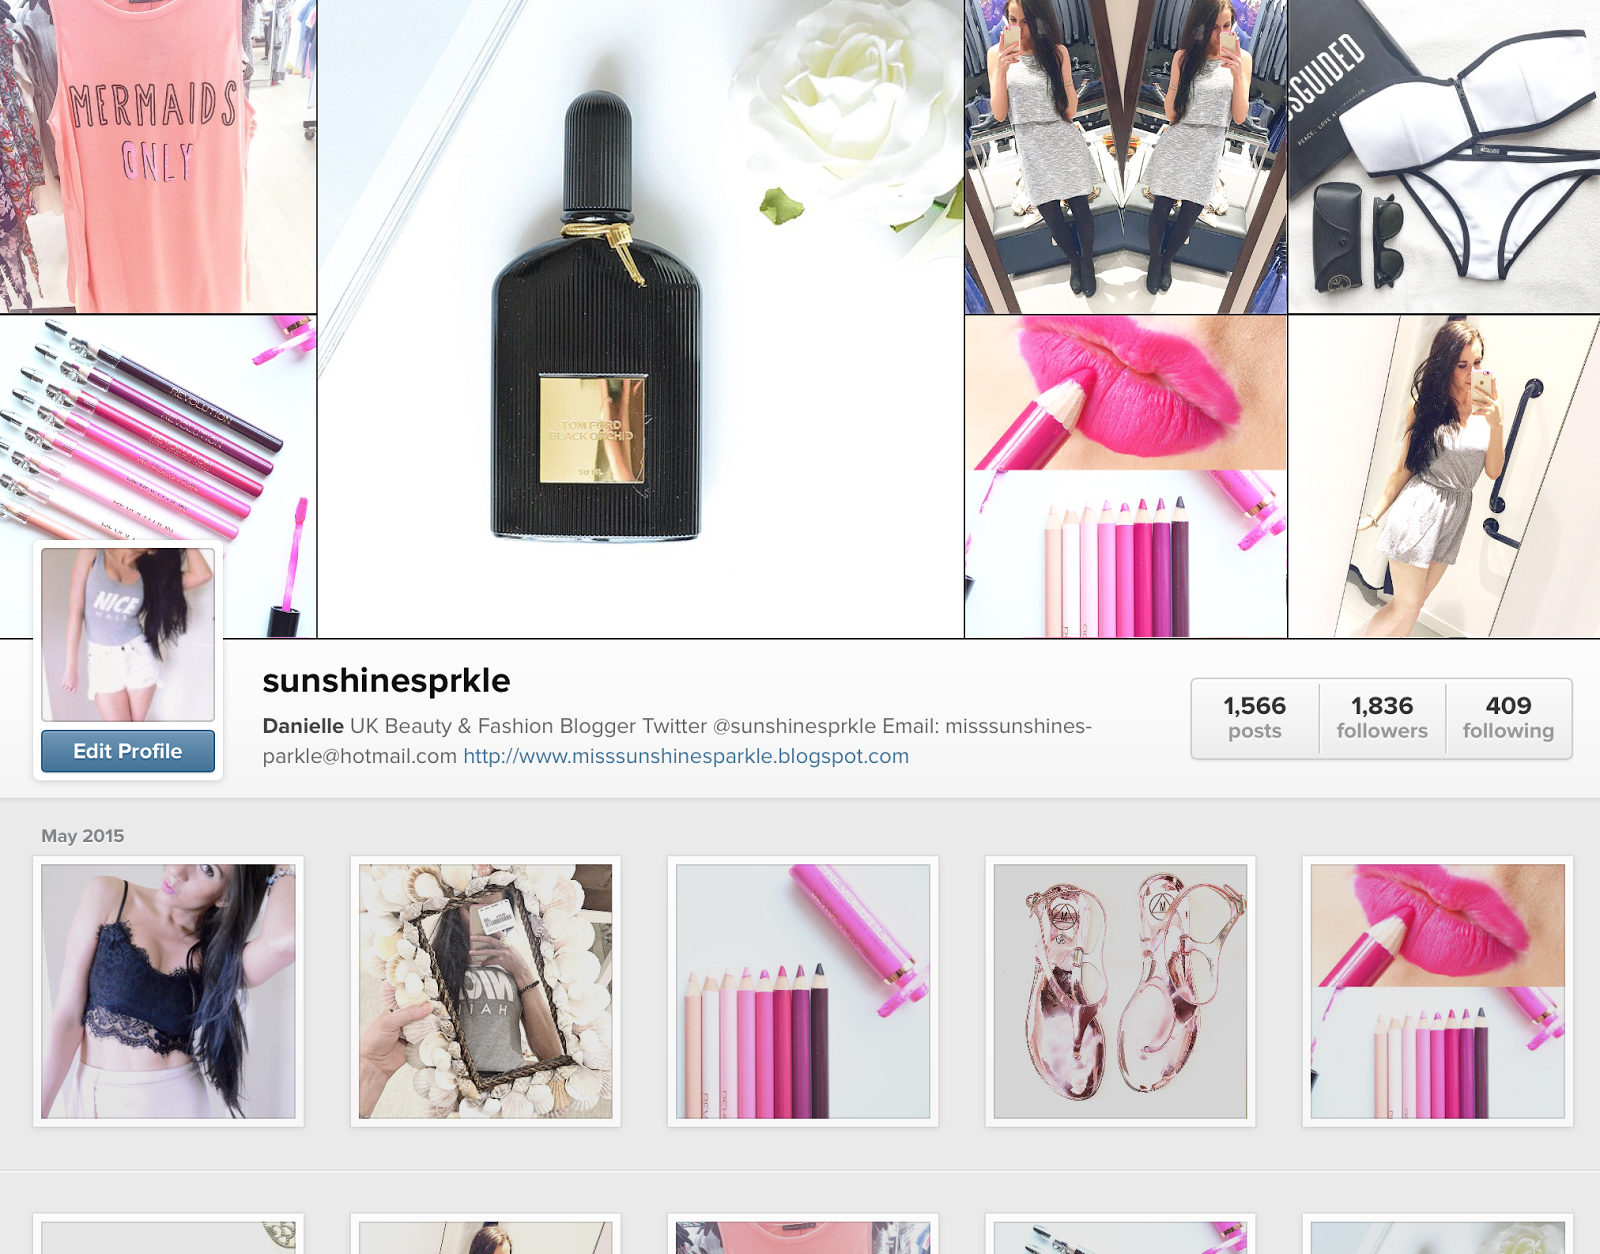
Do you remember the days where everyones Instagram theme was all white and we all used and abused the whitening tool on Face Tune just to get the right effect? Not to mention the most used filter on VSCO Cam - A5. I'll hold my hands up and say that I'm guilty and when I look back on this section on my Instagram theme I really hate it. Actually thats a little extreme, I don't hate it, but it's definitely not what I'm about anymore. Whilst some bloggers still work this theme AND make it look amazing, it's just not me anymore and I'm definitely more about injecting some colour into my feed. For the last couple of months I've been sticking to one consistent colour in my theme, which is pink and I absolutely love it. But over the last few weeks I've tried incorporating some more lifestyle photos in as I feel that this makes things look more personal and I can give you guys a bit more insight into my life. All these changes on the gram means I've been experimenting with different editing apps and seeing what suits my style best. Well, over the last two months the process of editing my photos has never been more fun and I can only put it down to my new favourite app - A colour Story and today I want to tell you all about it and how I use it to edit my Instagram photos.
Thursday, 28 May 2015
How I edit my Instagram Photos ....

I think its fair to say that everyone has the Instagram bug... Hello selfie! Just like everyone else I am obsessed with the app and probably check it far more than I should in a day. Over the last year I've definitely seen a change in Instagram photos and so many people have upped their Instagram game. Not being completely satisfied with the quality of the photos I've put up in the past, I've spent a lot of time researching and looking at different apps which would make my IG photos a lot more likeable. Having tried and tested my fair share of photo editing apps I thought I would share with you my favourite and the only one I'm currently using.
By no means am I a popular Instagramer, but I like to think that I've improved, especially since joining the iPhone 6 club, it's really made me fallen in love with the app even more. As a beauty blogger there are some accounts that I totally crush over and find very inspiring and when doing research and the same photo editing app crops up time and time again... Visco Cam, it's one that's probably installed on your phone now. But I have to say I really don't get on with the app at all. No matter what filters I use and how I edit my pictures I just can't create the desired look that I'm after using this app. I'm sure I'm not the only one in this corner so for those of you who like me don't get along with the number one blogging photo editing app be sure to keep reading as I have a far better alternative.
My favourite app to edit my Instagram photos on has to be Fotor Photo Editor. I've actually been using this for a few years now and it's always the app that I go back to as nothing else betters it and the best thing about it is that it's free to install... Bonus! Fotor really has everything I need to edit my Instagram photos and it's so easy to use, navigate and I'm able to create beautiful photos all in one app.
I like to go for a really bright look when it comes to my photos and I always find the best way to achieve this is to stay away from filters and really concentrate on the basics of photo editing - Brightness, contrast and sharpness. Fotor has a little section for this and it's really easy to adjust all of these things to you're liking.
I then like to go into the advanced section of the app where I can adjust things like shadows and highlights. My favourite tool on this section has to be the 'curves' tool which I always use on my laptop to edit my blog photos. I find 'curves' really allows me to add that brightness to my pictures easily and I love to play around with this. I've not come across another photo editing app which uses this feature and its this that really makes Fotor my number one photo editing app.
If I'm still not fully satisfied with my picture, Fotor has loads more to offer on the app such as an instant 'Enhance' tool and another favourite has to be the endless amount of filters that you can then apply to your pictures. It honestly has so many to choose from, I'm a little spoilt for choice.
As well as having all the perfect combination of tools to edit my photos, it also has a collage section on the main menu which is perfect just because I can do everything in one app. From there I can upload my picture straight onto Instagram... Perfect.
I honestly can't recommend this app enough, like I said I'm not the most popular Instagramer, but I personally love to read these kinds of posts as I'm always up for improving my Instagram game. This app really makes such a difference for me and I thought as I've not seen many people rave about Fotor I would share with you all why it's my personal favourite.
I would love to know what your favourite photo editing apps are, even though I love Fotor I love downloading and experimenting with new apps. And I'd like to throw in a little shameless plug here.... Please come and say hello to me on Instagram, you can find me at @sunshinesprkle. Let me know if you follow as I'm love following beauty bloggers back.
Lots of Love
Tuesday, 29 April 2014
How To Get Bright Photos || Backgrounds
There's no doubt about it, when it comes to blogging photos really do play a huge part and everyone wants their pictures to look bright, beautiful and most importantly to show case off whatever the focus of the photograph is to its very best. This however can be a lot easier said than done, and after two and half years of blogging I've had my fair share of photo mishaps (if you ever take a look back to my very first posts they are completely cringe worthy). Now whilst I am no photography expert, I have picked up a few things a long my blogging journey that have worked for me and sharing is caring as they say! A few months ago I did a little post on what website I use to edit my photos, in-case you missed it you can find it by clicking this link here. Today I wanted to share with you another little trick that I use to get my photos looking bright and as you guessed from the title of this post its about backgrounds.
When I say backgrounds, I'm talking about where we decided to take our photos and what on. I don't know about anyone else, but I have probably tried and tested just about every surface, counter and bit of furniture in my house to take my blogging pictures on. Whilst I found the dresser in my bedroom made a pretty setting for my blogging pictures, there was still a huge part of me that was never really satisfied. One reason being that my dresser was in a bit of an awkward position and I only had a few hours of good daylight there in a day; And we all know the importance of taking your pictures in the correct lighting. Let's face it we can't move our furniture around every time we need to take pictures for our blog.
Another thing that made me feel disheartened about my blogging photos was the colours of my furniture (don't get me wrong I picked it all out and love how pretty it makes my room look, but beige's and browns didn't make my photos look bright). If I'm honest, I always envied those bloggers that had white furniture or those studio boxes. I know it can be a little cliche with beauty bloggers taking pictures on white backgrounds these days; But I honestly feel that there is good reason for this -Having a white background can make your pictures appear a lot brighter. Having a white background also makes editing your pictures a whole lot easier as your not altering the balance of too many colours, just the products in the photos. Not only does having a white background make for brighter and crispier photographs, I also think that it makes any beauty product really stand out and make it the main focus of your photographs, but that's my personal opinion.
I thought long and hard about what I could use or change in my home that would create a fabulous white background for my pictures. Buying new furniture was out of the question as that was just way too drastic and I'm terrible at saving, so a lightening studio box seamed out of the question too. However my prayers where soon answered on a trip to B&Q. James and I ended up in the tile section and there I picked up a white and pretty large glossy sample tile that would be perfect for taking blog pictures on.
Picking up this tile was seriously one of the best blogging decisions that I've ever made, it makes a great surface to take all my blogging pictures on and it only cost me £3.99! The shine on the tile gives all my products a lovely little reflection in pictures. Any of my reviews that use a white background in their photos have been taken on this tile, I absolutely love it! Not only does it make a great little blogging background, but its portable too and I can take this into any room that has the best light for that time of day.
If your really struggling with your blog pictures right now and feel that something is not quite right, I can't recommend enough picking up a sample floor or wall tile for your pictures. B&Q had a sample tile for every tile they sold in store, so there are so many different ones you could choose for your pictures ad it really does make a big difference.
I know that this is a pretty random alternative to achieving bright blog pictures, but its something that has really worked for me and I thought it would be mean to keep it all to myself. Who would have thought tiles where just for walls and floors? Ha.
I would love to know what your thoughts are on my wall tile and if your planning on getting a tile for your blog pictures too?
Lots of Love
Find Me
Twitter @sunshinesprkle || Instagram @sunshinesprkle
Monday, 24 February 2014
How To Get Bright Photos Using Pixlr Editor
When it comes to blogging I think its fair to say that photography plays a huge part. Not only is taking photographs really fun, but its a way to immediately engage our audience with our blog posts. Whilst I believe written content is equally important, I do believe that a beautiful picture can work wonders in getting people to read your post in the first place. Now I am no photography expert, but I really wanted to share with you all some little tips I picked up on a free photo editing website which have really helped when it comes to editing my pictures for each blog post that I do.
Although editing pictures is not necessary, I do feel that sometimes it can help a picture (especially beauty products) look more like how we would see it to the eye. Like I say I am no expert, I'm still learning a lot about photography but most of us are aware that good lighting is essential and can really make or break a picture. With the weather being so unpredictable and lets face it rubbish most of the time here in the UK, it can be really hard for us to capture our pictures in the right way and for the camera to really pick up the colours in the picture -You want that pretty nail polish to look as bright as what you see it in real life. With that being, this is where photo editing can really come into play and help get your pictures looking bright and beautiful, just like you've taken them on a glorious sunny day.
The free photo editing website that I use is Pixlr and I always choose the Pixlr Editor option to help my pictures looking bright and beautiful.
Below is the original picture I have been working with, as you can see the picture is looking a little bit dull and we all know that those Barry M Jelly High Shine nail paints are much brighter than what's shown in this picture.
Once you've uploaded your picture onyo Pixlr Editor, all you want to do is look at the top bar and look for the 'adjustment' button - A drop down menu will appear once you've clicked on it and you want to choose the 'levels' option. This will bring up a little box like the one shown below.
The levels box has a few little sliders that you can drag back and forth, but I find that the very top one on the right best works wonders for brightening your pictures (as you can see I've highlighted with a pretty start for you ha). Just keep sliding it to the left to adjust the brightness to a level that you think will work best for your photograph. Don't be afraid to play around with all the little sliders too as they can sometimes help to adjust the balance of the colours once you've brightened your picture. And it really is that easy!!
Depending on what I'm photograph I'm editing, I can sometimes find that adjusting the levels of brightness can sometimes alter the colour of the products in the picture, but this can easily be sorted out on Pixlr Editor too. Again you want to go to the 'adjustment' tool on the top bar and this time click on 'colour balance' which will again bring up another little box - Just like the one shown below.
Again all you want to do is adjust the little sliders back and forth to alter the colours a little. Just a little heads up, you only need to move them a fraction to make a difference - You'll see :)
Once you happy with the way your photo is looking, a great way to finish it off in Pixlr Editor is just to sharpen it, which will make the detailing on the picture just pop out a little and I always use it. This time you will want to click on the 'Filter' button at the top of the screen and choose the 'sharpen' option - Clicking this button will immediately sharpen up your picture - which is a look that I personally like
All you need to do now is save your picture and your ready to upload it to your blog - It really is as simple as that.
For the purpose of this blog post I took the original picture with the ISO setting down on my camera really low so it looked dull and and so you really could see the difference in the before and after photos. I think it just goes to show you that you don't need a fancy camera to get really bright pictures and if your camera doesn't have an ISO setting then you can still make a dull picture bright.
I really hope that this helps some of you when editing your blog pictures in the future and to show you that you don't need to pay money for photo editing software in order to get bright beautiful pictures - Just use Pixlr.
If your already a whizz on Pixlr (I only know the basics) then I would love to hear any tips or tricks that you may have. Also if you do use this way to edit your pictures I would love to know how you get on with it.
Lots of Love
Subscribe to:
Posts (Atom)
©
Miss Sunshine and Sparkle | All rights reserved.